
Trees
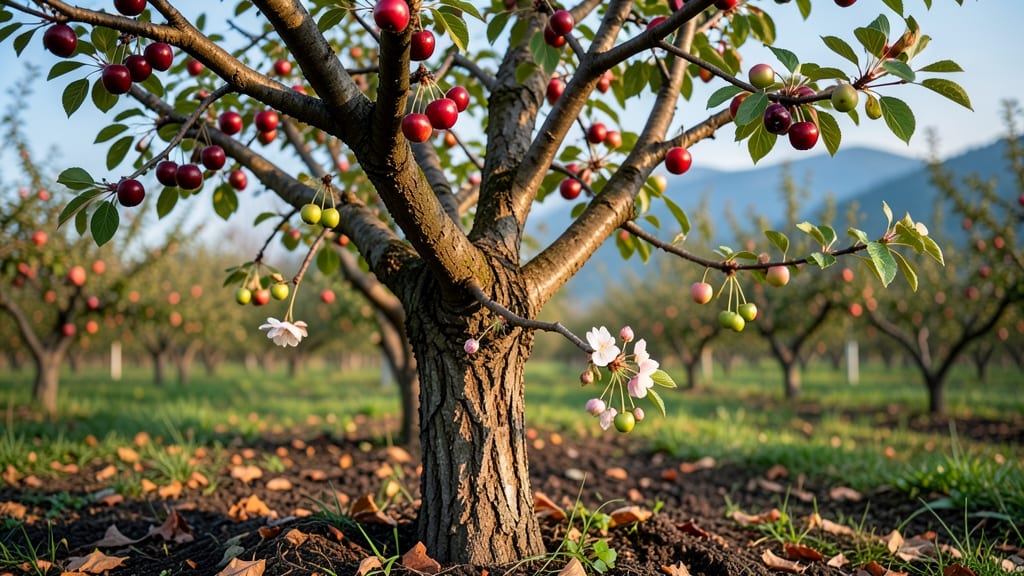
The stages of a cherry tree 🍒 fruit’s development are the difference between a bountiful harvest and a disappointing loss—and knowing them helps you protect every stage.
Picture this: one day your tree is blanketed in delicate pink blossoms, and the next, tiny green cherries are forming. But between bloom and harvest lies a critical window where frost, pests, or poor pollination can wipe out your crop.
Miss a single milestone, and you might end up with cracked fruit, bird damage, or cherries that never ripen properly.
In this guide, I’ll walk you through each phase—from bud swell to full ripeness—so you can spot problems early and adjust care like watering, pruning, or even hand-pollinating if needed.
You’ll also learn the three key signs your cherries are ready to pick, plus how to handle common issues like cracking or mold before they ruin your harvest.
Whether you’re a first-time grower or a seasoned gardener, these insights will help you turn your cherry tree’s potential into a real, flavorful harvest—without the guesswork.
Cherry tree fruit development stages: flowering to fruit set explained
Understanding the cherry tree fruit development stages is key to maximizing your harvest. Each phase—from bud swell to fruit set—requires specific care to avoid common pitfalls like frost damage or poor pollination. Let’s break down what happens at each stage and how to support your tree.
Cherry trees typically begin their fruit development in late winter to early spring, with bud swell occurring just before blooming. This is when buds plump up and prepare for flowering.
If temperatures drop suddenly, buds can suffer frost damage, stunting growth. Monitor forecasts and cover young trees if frost is predicted.
Next comes the blooming stage, where vibrant pink or white flowers appear. This phase lasts about 7-10 days and is critical for pollination. Bees and other pollinators play a vital role here—planting companion flowers like dandelions or clover can attract them to your orchard.
| Stage | Key Features | Timing (Zone 6) | Critical Care |
|---|---|---|---|
| Bud Swell | Buds plump and green | Late February - March | Protect from frost |
| Blooming | Pink/white flowers open | March - April | Attract pollinators |
| Pollination | Flowers drop petals | April | Hand-pollinate if needed |
| Fruit Set | Small green cherries form | April - May | Thin fruit if overcrowded |
| Early Growth | Cherries enlarge rapidly | May - June | Water deeply weekly |
Pollination occurs during blooming, when bees transfer pollen between flowers. If your tree isn’t producing fruit, consider hand-pollinating with a soft brush or planting a second variety nearby. Some sweet cherries require cross-pollination, while sour cherries are often self-fertile.
After pollination, petals fall, and tiny green cherries appear—this is fruit set. Not all flowers will set fruit, so thinning may be necessary. Remove small or misshapen cherries to allow remaining fruit to grow larger and healthier. Use pruning shears and leave 1-1.5 inches between cherries.
During early growth, cherries expand rapidly. Ensure your tree receives 1-2 inches of water weekly and monitor for pests like cherry fruit flies or aphids. Organic sprays like neem oil can help protect young fruit without harming pollinators.
Watch for cherry leaf spot or powdery mildew during this stage, as damp conditions can encourage fungal growth. Prune lower branches to improve airflow and reduce humidity near the fruit. If you notice brown spots on leaves, apply a fungicide as a preventive measure.
By understanding these stages, you’ll be better equipped to support your cherry tree’s growth and avoid common issues. Pay close attention to weather patterns, pollination success, and fruit thinning—these are the keys to a bountiful harvest.
With the right care, your tree will reward you with delicious cherries in late spring or early summer!
How to identify healthy vs. problematic fruit growth in cherries
Once your cherry blossoms fade, the real magic happens—tiny green cherry fruits begin their journey to ripeness. But not all growth is healthy. Learning to spot normal development versus problematic signs ensures a bountiful harvest. Early detection saves your crop from cracking, pest damage, or fungal infections.
Healthy cherries follow predictable size and color changes, while stressed fruit shows unusual markings or growth patterns. For example, a 1-inch cherry should be firm and greenish-yellow by midsummer. If it’s soft, discolored, or covered in black spots, action is needed fast.
🚨 CALLOUT-WARNING 🚨
Stage: 1-2 weeks post-pollination
Warning: Fruit drop (more than 20% of cherries falling) signals poor pollination or nutrient deficiency. Check for thin blossoms or yellowing leaves—both indicate stress.
Action: Apply balanced fertilizer (10-10-10) and ensure cross-pollination by planting two compatible varieties.
Stage: 4-6 weeks post-pollination
Warning: Cracked cherries (vertical splits) from rapid moisture changes or overwatering. Affected fruit rots quickly.
Action: Mulch 3 inches deep to stabilize soil moisture and water deeply but less frequently.
Stage: Late summer (ripening)
Warning: White mold (powdery patches) or black rot (sunken spots) means fungal infection. Remove infected fruit immediately.
Action: Spray copper fungicide every 7-10 days and prune for airflow.
Start by examining cherry size progression. A healthy 1-inch cherry (early June) should grow to 1.5 inches by July. Measure a few fruits weekly—stunted growth suggests root issues or pest damage.
Use a ruler to track increases; if cherries shrink or stop growing, check for aphids or borers.
Color shifts are your best clue. Sweet cherries turn bright red, while sour cherries deepen to dark red or black. Uneven coloring or yellow patches may indicate sunburn or nutrient imbalance.
Shade cloth can protect young fruit from harsh afternoon sun, while Epsom salt (1 tbsp/gallon) corrects magnesium deficiency.
Tactile checks reveal hidden problems. Gently press a cherry—it should feel firm but slightly yielding. If it’s mushy, it’s overripe or rotting; if rock-hard, it’s underripe. Stem detachment is another key: a ripe cherry’s stem should twist off cleanly. If stems tear, the fruit isn’t ready.
Pests leave telltale marks. Look for tiny holes (fruit flies), chewed edges (birds), or sticky residue (aphids). Bird netting (70% shade) deters birds, while neem oil (2% solution) controls insects. Act fast—once 10% of cherries show damage, the infestation spreads.