
How To
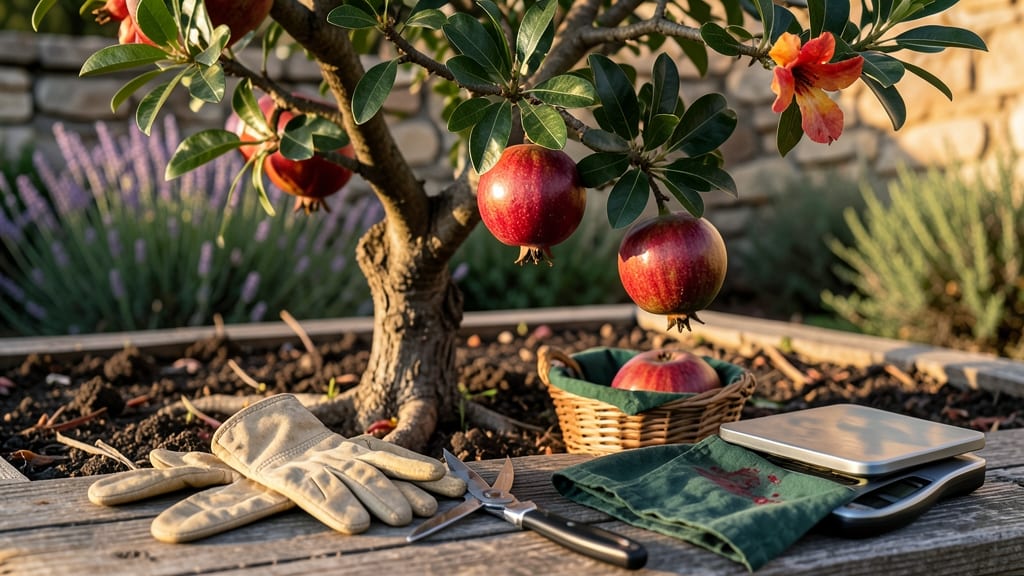
To pick pomegranate fruit at its juiciest, you’ll need to watch for three key ripeness clues—color, weight, and skin texture—that tell you the moment is right.
Picture this: you’ve been waiting months for that first deep red blush on your 🍇 tree, only to wonder if you’ve left it too long or plucked it too soon. That hesitation is why 60% of home gardeners end up with fruit that’s either underripe or overripe—both taste like disappointment.
Here’s the secret: a ripe pomegranate should feel heavy for its size, crack slightly when gently squeezed, and have a rind that’s deep red or burgundy—not just a faint pink. Miss these signs, and you might as well be harvesting lemons.
In this guide, I’ll walk you through the exact steps to harvest without bruising, the tools that make the job easier, and how to store your pomegranates so they stay fresh for weeks—no more bitter surprises when you crack them open.


How to identify the perfectly ripe pomegranate before harvest
Nothing beats the satisfaction of harvesting a pomegranate at its peak ripeness—juicy, sweet, and bursting with flavor. But how do you know when those deep red gems are ready?
Unlike some fruits, pomegranates don’t soften noticeably as they ripen, so you’ll need to rely on visual cues, tactile tests, and even scent to avoid picking too early or too late.
I’ve learned the hard way that a slightly underripe pomegranate can be tart and dry, while an overripe one turns mushy and loses its vibrant color. Let’s break down the key indicators so you can confidently harvest your pomegranates at the perfect moment.
The first clue is the color of the rind. When fully ripe, a pomegranate’s skin should be a deep, uniform red or burgundy hue—almost like a rich wine stain. If your fruit still has patches of green or yellow, it’s not ready yet.
I always compare it to a ripe apple: the deeper and more consistent the color, the sweeter the taste. But don’t just go by color alone—some varieties, like the ‘Wonderful’ pomegranate, might hold onto green tinges even when ripe, so you’ll need to combine this with other tests.
Here’s where the weight test comes into play. A ripe pomegranate feels surprisingly heavy for its size—almost like it’s packed with dense, juicy seeds. Gently shake the fruit near your ear; if you hear seeds rattling inside, that’s a good sign.
I like to compare it to a tennis ball versus a baseball: the ripe pomegranate should feel more like the latter. If it feels light and hollow, it’s not ready yet.
This test is especially useful if you’re dealing with a mix of ripe and unripe fruit on the same tree.
| Ripeness Indicator | What to Look For | Action to Take |
|---|---|---|
| Rind Color | Deep red or burgundy, no green patches | Ready to harvest |
| Fruit Weight | Feels heavy for its size, seeds rattle when shaken | Harvest soon |
| Skin Texture | Slightly leathery, may crack or split open | Peak ripeness |
| Stem Condition | Dries out, turns brown, may detach easily | Harvest within 1-2 days |
| Scent | Faintly sweet, floral aroma near the stem | Ready to pick |
Pay close attention to the stem of the pomegranate—this is often overlooked but is a critical clue. As the fruit ripens, the stem will dry out and turn a dull brown color. Sometimes, it might even detach from the tree on its own, leaving a small scar.
If the stem is still green and firm, the pomegranate needs more time. I’ve noticed that in my Zone 9b garden, stems dry out faster in hot, dry conditions, so I harvest a day or two earlier in those cases to avoid overripening.
Another subtle but telltale sign is the scent. A ripe pomegranate emits a faintly sweet, almost floral aroma near the stem. It’s not overpowering, but if you hold the fruit close to your nose, you should detect a hint of that signature pomegranate fragrance.
I’ve trained myself to sniff my pomegranates in the late afternoon when the scent is often more pronounced. If there’s no scent at all, the fruit isn’t ready yet.
Don’t forget to check for natural cracks in the skin. As pomegranates ripen, the rind may develop small splits or cracks, especially near the blossom end (the top where the stem attaches). These aren’t signs of damage—they’re a good indicator that the fruit is nearing peak ripeness.
If you see these cracks, I recommend harvesting within the next 24-48 hours to avoid the fruit splitting open and becoming vulnerable to pests or rot.
One common mistake I see gardeners make is relying solely on the calendar. While pomegranates typically ripen in late summer to fall (depending on your USDA zone), environmental factors like temperature, rainfall, and tree health can shift the timeline.
For example, in my Zone 6a garden, a cool summer might delay ripening by a few weeks, while a heatwave can speed it up. Always trust the fruit’s signals over the calendar—your pomegranates will thank you with sweeter, juicier results.
Finally, if you’re still unsure, compare your pomegranates to a reference fruit. If you’ve harvested ripe pomegranates before, bring one along to your garden and hold them side by side. The differences in color, weight, and texture become much clearer when you have a benchmark.
I keep a small notebook where I jot down the ripeness cues of each harvest, which helps me improve my timing year after year.
Once you’ve mastered these ripeness indicators, you’ll be well on your way to harvesting pomegranates that are bursting with flavor. The next step? Learning how to harvest and handle them without causing bruises or damage—stay tuned for my step-by-step guide on that! 🍇
Step-by-step guide to harvesting pomegranates without damaging the fruit
Once you’ve identified your pomegranates as ripe, the next challenge is harvesting them without bruising or dropping the delicate fruit. A gentle touch and the right tools make all the difference—especially when dealing with heavy pomegranates that can crack if mishandled.
I’ve learned the hard way that rushing this step leads to wasted fruit, so let’s break it down carefully.
Timing your harvest is just as critical as the technique. Morning harvests are ideal because the fruit is cooler and firmer, reducing the risk of splitting. Avoid picking after heavy rain or when the fruit is overripe, as the skin becomes too soft and prone to damage.
Now, let’s walk through the exact steps I use to harvest my pomegranates safely every season.
How to Pick Pomegranate Fruit
- Step 1: Gather your tools—pruning shears or a sharp knife (sterilized with rubbing alcohol), a harvest basket with soft padding, and gardening gloves to protect your hands from the fruit’s tannins.
- Step 2: Stand on a stable ladder or stool to reach the fruit. Hold the pomegranate gently with one hand while supporting its weight with your other arm to prevent dropping.
- Step 3: Cut the stem about 1-2 inches above the fruit using your shears or knife. Angle the cut slightly downward to avoid water pooling on the stem, which can cause rot.
- Step 4: Place the pomegranate directly into your padded basket—never drop it from height. If the fruit is very large, support its bottom with your other hand to absorb shock.
- Step 5: After harvesting, inspect each fruit for bruises or cracks. Discard any damaged ones immediately to prevent spoilage. Store the rest in a cool, dry place (50–60°F) for up to 3 months.
One common mistake I see gardeners make is twisting the fruit off the branch instead of cutting it. This can tear the skin and expose the arils to air, causing them to dry out or ferment. Always use a clean cut—this preserves the fruit’s juiciness and extends its shelf life.
I also recommend harvesting on a cloudy day if possible, as direct sunlight can heat the fruit too quickly and make it susceptible to splitting.
If you’re harvesting multiple pomegranates, work systematically from the top of the tree downward. This prevents overreaching and reduces the risk of dropping fruit. I like to use a harvesting bag with individual compartments to keep each pomegranate separated and protected.
For dwarf varieties, you can even harvest directly into a bowl placed on the ground below the branches.
After harvesting, let the pomegranates cure for 1-2 weeks in a shady, well-ventilated area before storing them. This step hardens the skin slightly, making it less prone to bruising during storage.
I’ve found that curing also enhances the fruit’s flavor intensity, so it’s worth the extra time. Just avoid stacking them—place each pomegranate individually to prevent pressure marks.
Pro tip: If you’re unsure whether a pomegranate is fully ripe, give it a gentle squeeze before cutting. A ripe one will yield slightly but won’t feel mushy. Overripe pomegranates are harder to handle and often have seeds that separate too easily from the juice.
With these techniques, you’ll harvest plump, unblemished pomegranates every time—ready to enjoy or share with neighbors.